
Table of Contents
How to Graph on a TI-84: Your Complete, Step by Step Visual Guide
Graphing functions is the most powerful feature of your TI-84 calculator, turning complex equations into clear, visual graphs. Whether you are using a physical TI-84 Plus or a free online emulator like TI84.online, the process is the same.
Step by Step: How to Graph Any Function
Follow these steps to graph everything from simple lines to complex polynomials.
Step 1: Access the Y= Editor
Press the Y= button (top left of the keypad). You’ll see a list, usually Y1, Y2, etc. This is where you type your equations.
- Pro Tip: You can graph up to 10 equations at once to compare them.
Step 2: Enter Your Equation
Using the keypad, type your equation next to an empty Y= slot.
- For y = 2x + 5, type: 2 X,T,θ,n + 5
- For y = x², type: X,T,θ,n x²
- Use the (-) key for negative numbers, not the subtraction key.
These steps work the same on the TI-83 calculator online.
Step 3: Set Your Viewing Window (The “GRAPH” Key)
Press the GRAPH button. If you don’t see your graph or it looks off, you need to adjust the window.
- Press the WINDOW button to set the graph’s boundaries.
- Xmin / Xmax: The left and right edges of the screen (e.g., -10 to 10).
- Ymin / Ymax: The bottom and top edges of the screen (e.g., -10 to 10).
Step 4: Adjust and Analyze
- ZOOM: Press this for quick presets. ZoomFit (Option 0) automatically fits your Y-values.
- TRACE: Press this, then use the left/right arrows to move along the curve and see exact (X,Y) coordinates.
- Find Specific Points: Press 2nd then TRACE (CALC) for tools like zero (x-intercept), minimum, or maximum.
Visual Example: Graphing y = x² – 4
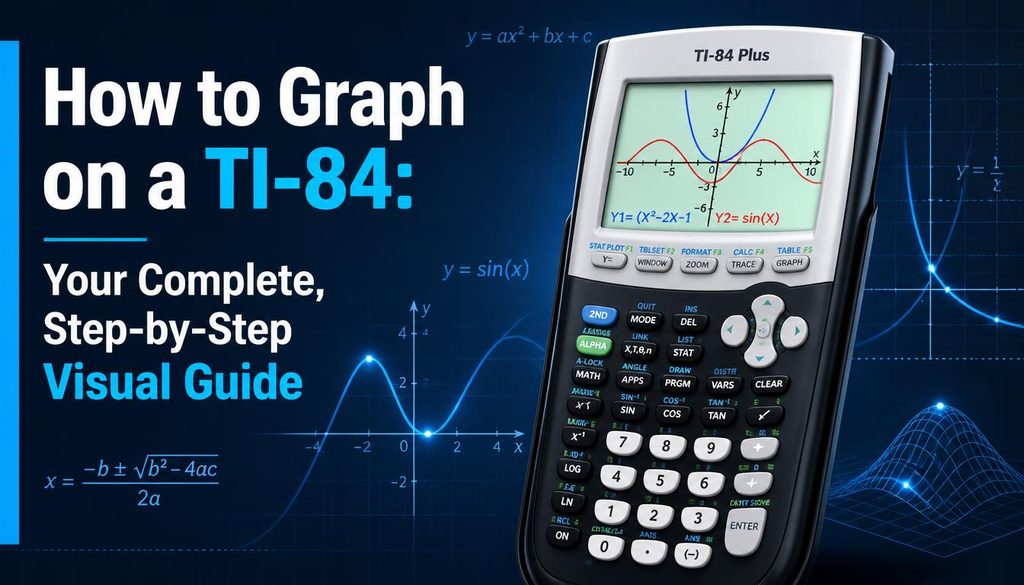
Here’s how this common parabola would look graphed on a TI-84 interface. Notice the key points at (-2 to 0), (0, to 4), and (2 to 0), which you can find using the CALC menu.
(A visual representation of the graph and keypad would be placed here.)
✅ Pro Tips & Common Mistakes to Avoid
- “Invalid Dim” Error: This usually means your STAT PLOT is on. Press 2nd Y= (STAT PLOTS), select the plot, and choose Off.
- Graph is Too Small or Off Screen: Use WINDOW to manually adjust ranges or use ZOOM ZoomFit.
- Graph Looks Chunky or Jagged: Your Xres setting in the WINDOW menu might be too high (it controls resolution). Set it to 1 for the smoothest graph.
- Forgetting to Clear Old Equations: Always check the Y= editor for leftover equations from previous work that might clutter your new graph.
Graphing on a Physical TI-84 vs. Online Emulator
| Feature | Physical TI-84 Plus | TI84.online Free Emulator |
| Cost | $100+ | Completely Free |
| Access | Must have device | Any browser, any device |
| Graphing Steps | Identical to steps above | Identical to steps above |
| Best For | Exams, classrooms where phones/computers aren’t allowed | Homework, practice, study sessions, quick access |
| Trial Function | Not possible without resetting | Easy to experiment without fear of losing work |
(FAQ)
Ready to Practice Graphing?
The best way to learn is by doing. Try these steps right now on our free, full featured TI-84 Online Calculator. It’s the perfect risk free way to practice before a test or tackle your homework.
zgltjjusojtdwrxrenvrrgjqiomotx
Thank you for the sensible critique. Me and my neighbor were just preparing to do some research about this. We got a grab a book from our local library but I think I learned more from this post. I am very glad to see such great information being shared freely out there.
每天都在战争,希望2026和平.